The manual
Nordletter, from start to finish
Eight chapters, in the order you will actually do them. Nothing here changes while you read it — if you would rather ask a question in your own words, the questions and answers page is next door.
1. Getting set up
Ten minutes once, and the rest of Nordletter simply works. Everything here is saved as you type, so you can stop halfway and come back.
- 1
Finish Setup
Your business name, what you sell, and the postal address that has to appear at the bottom of every letter by law. Nordletter uses these to fill in footers and templates for you.
Take me there - 2
Confirm a sender address
The address your letters come from. We send one confirmation email to it; click the link and it turns verified. Until then nothing can be sent — this is what keeps your letters out of spam folders.
Take me there - 3
Choose your language
Pick the language you want to work in from the top of the screen. Nordletter translates the whole interface live. Your own company name, addresses and customer details are never translated.
Take me there
2. Bringing in your customers
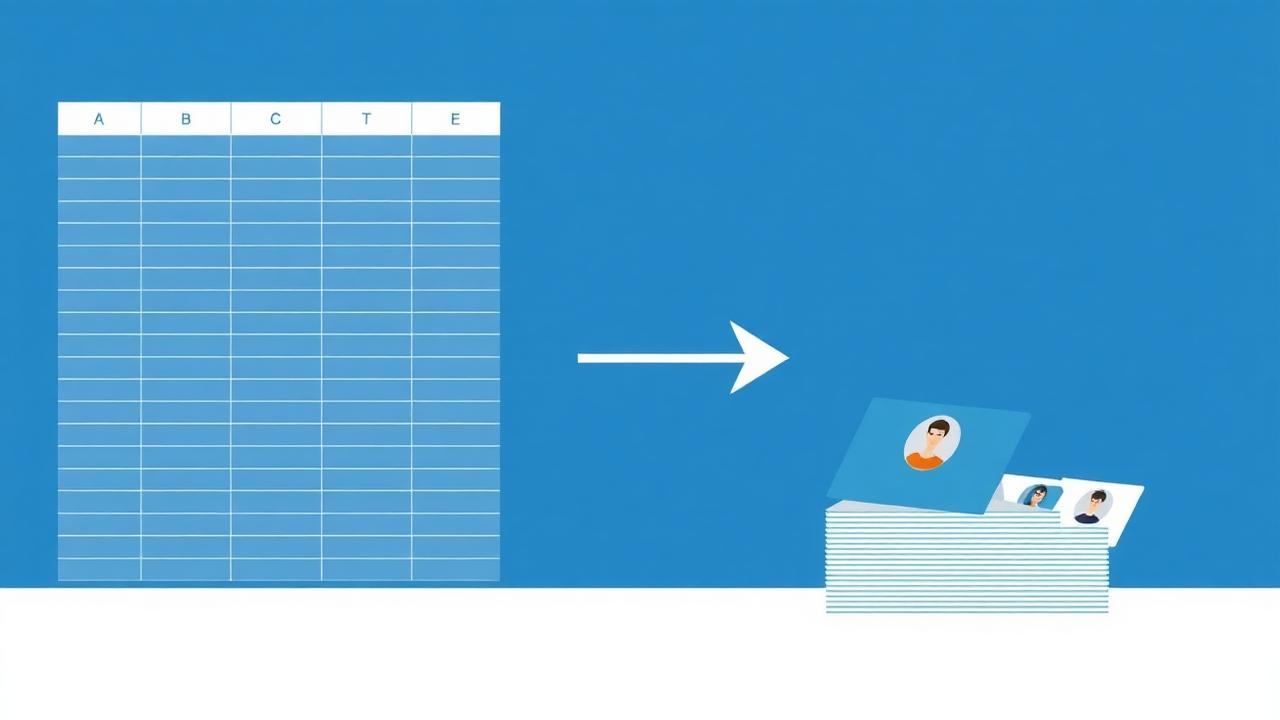
A contact is one person who agreed to hear from you. Bring them in from a spreadsheet, a sign-up form, or one at a time.
- 1
Import a spreadsheet
Save your file as CSV, drop it on the import page and match each column to a field. Email address is the only one we insist on. Duplicates are merged, not doubled.
Take me there - 2
Group people into lists
A list is a group you send to — regulars, wholesale, newsletter. A person can be on several lists and still only receives one letter.
Take me there - 3
Add your own fields
Attributes hold anything you know about a customer: favourite wine, town, birthday. Tags are simple labels. Both can be used to pick who receives a letter, and to write their name into it.
Take me there - 4
Let people sign themselves up
Publish a sign-up page or drop the small sign-up box on your own website. New sign-ups land on the list you choose, already consented.
Take me there
3. Writing a letter
Start from a ready-made template or an empty page. Blocks stack top to bottom; drag one in, click it, change it. Everything saves itself a couple of seconds after you stop typing.
- 1
Pick a template
Use Template opens the gallery — offers, news, events, seasonal, plain text. Every template already has your logo, colours and legal footer in it.
Take me there - 2
Add pictures
Drop an image block in and either upload a picture or pick one you used before from the library. Pictures are resized for email automatically, so nothing arrives blurry or enormous.
- 3
Write their name in
The personalisation button inserts a tag such as first name. If a contact has nothing in that field, a fallback you choose is used instead — never an empty gap.
- 4
Let the assistant help
The draft button writes a first version from a sentence about what you want to say, and the subject assistant suggests lines that get opened. Both are suggestions — you keep editing.
- 5
Translate the whole letter
The green Translate button rewrites the finished letter into another language, keeping the layout, links and your company name exactly as they are.
3.1 Every block, and the order to add them
The left-hand panel has three drawers: Layout (how the page is divided), Content (the things people read) and Sections (whole ready-made pieces). You always drag from that panel onto the page. A blue line shows where the block will land; let go and it drops there. Nothing is permanent — drag it again to move it, or press undo.
- 1
First: a layout row
Always start a new area with a row from Layout — 1 column for normal text, 2 columns for a picture beside words, 3 columns for three small cards. The row is the shelf; content blocks live inside it. If you drop two content blocks straight onto the page they will always sit one under the other, which is why side-by-side needs a 2-column row first.
- 2
Then: content inside the row
Text is a paragraph or heading. Image is one picture. Button is a coloured link. Divider is a thin line between areas. Spacer is empty air when two things sit too close. Social is the row of icons to your Facebook, Instagram and so on.
- 3
The bigger content blocks
Hero is a large banner with a background picture and a headline on top — normally the very first thing in the letter. Navbar is a small row of links at the top (Shop, News, Contact). Accordion is a list of questions that open when tapped. Carousel is several pictures a reader can swipe through. Table is a tidy grid for prices or opening hours. Cover is a full-width picture used as a chapter break.
- 4
Sections: a whole piece in one drag
A section is a row and its content already assembled: Heading + text, Text + button, Image + text, Image above text, Three cards, Two columns with text, Social icons, Footer. Dragging one in is the fastest way to build — you drop it, then click each part and change the words. Use these instead of building rows by hand until you are comfortable.
- 5
The order that always works
1) Hero or Cover at the top. 2) Heading + text section to say what this letter is about. 3) Image + text, or Three cards, for the offers or news. 4) Text + button for the one thing you want them to do. 5) Divider. 6) Social icons. 7) Footer — the footer holds your address and the unsubscribe link, and a letter cannot be sent without one.
- 6
Working from a template
A template already follows that order. You rarely add rows to it — click a heading and retype, click a picture and swap it, drag a section you do not need out of the way and delete it, and drag a new section in where you want more. That is the whole job.
Take me there
4. Sending it
Sending is five short steps in one window. Nothing leaves until the last one, and you always see the exact number of people first.
- 1
Choose who receives it
A list, several lists, or a saved segment such as everyone who opened the last letter. The count updates as you choose.
- 2
The checks
Nordletter reads the letter for you: broken or missing links, a missing subject, images without descriptions. A letter with no working unsubscribe link cannot be sent at all — we stop you and say so.
- 3
Test it on yourself
Send a test to your own address, or preview it as a real contact to see exactly what they will see with their name filled in.
- 4
Now or later
Send straight away, or pick a date and time. Scheduled letters can be changed or cancelled right up to the moment they go.
5. Box Mail
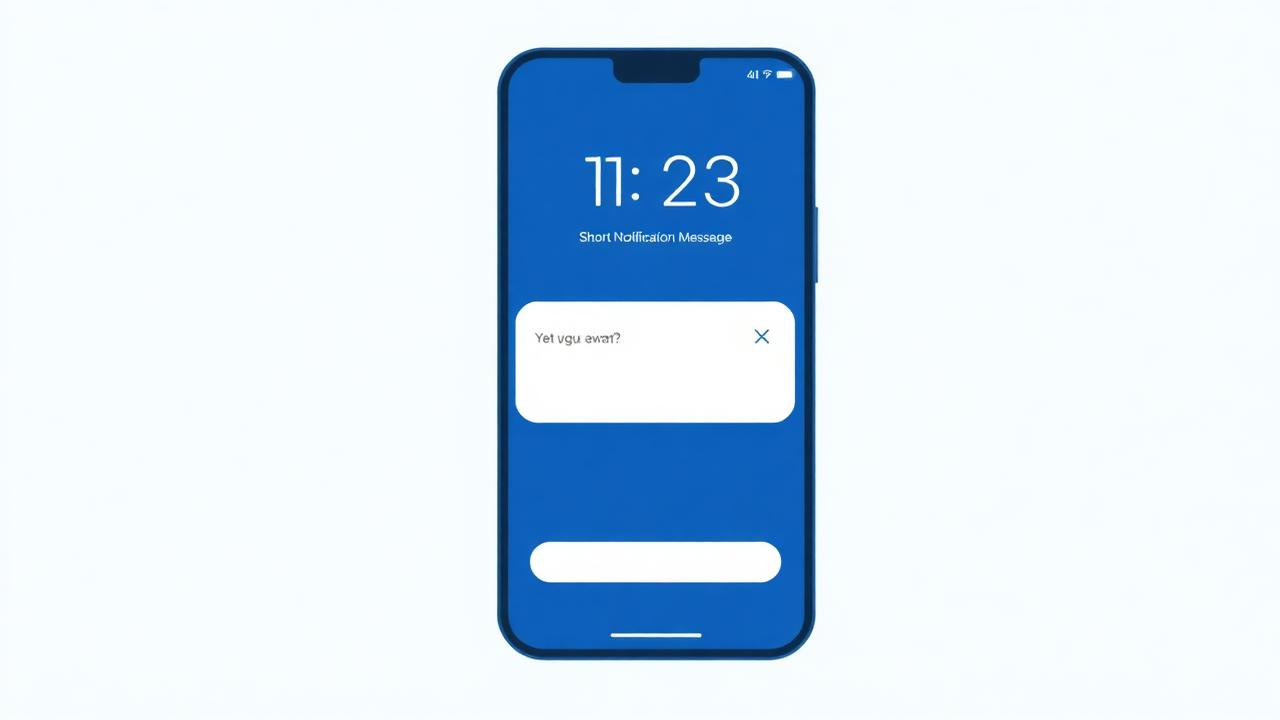
Box Mail is a short message on the phone lock screen, for customers who allowed it. It reaches people who never open email — but it must be brief and worth interrupting someone for.
- 1
How people opt in
They tap Allow on your sign-up page or website box. Nobody receives Box Mail without doing that first, and one tap turns it off again.
- 2
Write the short version
Give your letter a Box Mail line — a headline and one sentence. That is what appears on the phone; tapping it opens the full letter.
- 3
Let the router decide
Nordletter picks the channel each person is most likely to read: Box Mail for those who allowed it and read them, email for everyone else. Nobody receives both.
Take me there
6. Reading the results
One report per letter, in plain numbers: who received it, who opened it, what they clicked and who unsubscribed.

- 1
The report
Open a sent letter to see its report. Every number is a real person you can look at, not an estimate.
Take me there - 2
Compare with your own history
Each report shows how it did against your previous letters, so you learn what your customers actually respond to.
- 3
Something went wrong?
The trouble page on a letter shows exactly which addresses bounced and why, and what to do about each kind.
7. Letters that send themselves
An automation is a rule: when this happens, send that. A welcome letter to every new contact, a note when someone joins a list, a follow-up to everyone who clicked.
- 1
Build the rule
Pick what starts it, add a wait if you want one, then pick the letter to send. Save it as a draft and try it in dry-run first.
Take me there - 2
Watch it run
The history page lists every run, every person it touched and every step it took, and you can export the whole log.
Take me there
8. Pages, surveys and the rest
The smaller rooms — each one does a single job.
- 1
Landing pages
A standalone page with its own address: sign-ups, an offer, an event. Built with the same blocks as a letter.
Take me there - 2
Surveys
Ask your customers a few questions and read the answers on one screen. Answers can be saved onto the contact.
Take me there - 3
Privacy requests
Export or erase everything held about one person, with a record of it. This is the page to use when someone writes and asks.
Take me there - 4
Your plan and invoices
What you have used this month and every invoice as a PDF you can download.
Take me there